

I had a teacher that always preached that "success sides with how prepared you are". They ingrained into us that being prepared and having the right tools would help us have a better chance of succeeding, no matter what the challenge was! Over the years, I have found this to be 80% true...the other 20% was part good luck, part bad luck, part the world was totally against us that day, part it was the planets aligned, or total coin toss that we didn't get to call.
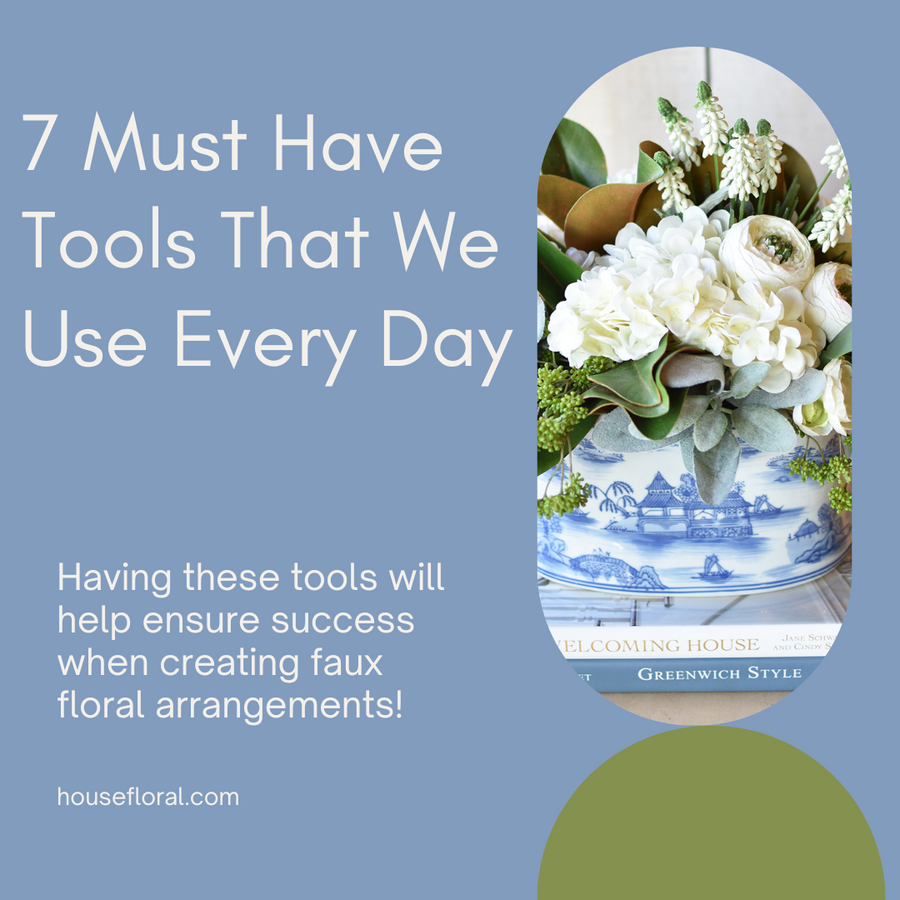
And we know how intimidating it can be to try to create a floral arrangement, no matter the size or purpose! So that's why we wanted to share with you the tools that we rely on with over 50 years of experience combined so that we can help get you prepared for success and that feeling of JOY when you step away from something your proud of! Let's get into the basics!

WIRE CUTTERS:
When it comes to floral arrangements, having the right pair of craft wire cutters can make all the difference. And we're not talking about electrical wire cutters or those small jewelry wire cutters! These specialized cutters are designed to effortlessly trim and shape wire stems, ensuring clean and precise cuts. Opting for a high-quality pair can enhance your crafting experience by providing a comfortable grip and durable construction, enabling you to handle various wire gauges with ease and not destroy your hands in the meantime. Here is a pair of Wire Cutters that we highly recommend.
Pro TIp: Even the strongest of hands can have trouble cutting through some stems. If you can't cut through with one grip, try to cut a little at a time with the sharp point of the cutter. Or, look at the stem and look for notches on the stem (they look like they had a really tight belt on and then took it off, leaving little rings or places where there's less plastic stem to cut through). These are points that are easier to cut through because there's less material.
FLORAL FOAM:
Using quality faux floral foam is another essential component for successful floral arrangements. And yes, they do have floral foam at businesses like Dollar Stores, but our experience with that foam is that it just breaks apart and is not reliable. Instead we searched and found floral foam that is intended for faux floral arrangements that won't break up into pieces with a couple of holes. Our floral foam can be cut, shaved, and edited to the containers you're working on. Our lightweight foam acts as a sturdy base to secure and support the stems of your flowers. It provides stability while allowing you to arrange your blooms in a desired design. Opting for high-quality faux floral foam ensures longevity and prevents it from falling apart!
Pro Tip: Foam intended for fresh floral arrangements is completely different! Do not try to use it for a faux arrangement.
MOSS + PINS:
One often overlooked aspect of floral arranging is the importance of using moss to cover the brick of faux floral foam and floral pins to hold it down securely. Moss not only conceals the foam base but also adds a natural and aesthetic touch to your arrangement. It helps create a seamless transition from the blooms to the container, enhancing the overall visual appeal. MOST IMPORTANTLY, it also helps you save money! By covering the foam, it stops you from continuing to shove in more flowers because you see the raw foam! Floral pins are essential for securing the moss in place, ensuring that it stays intact throughout the life of your arrangement.
Pro Tip: Does your real moss look brown and dried up like dirt? You can spray with water from a mister or etc.
GLUE PAN :
OK, if you have a hot glue gun, you can use it...HOWEVER we hate picking it up, trying to get the tip on the end of the stem, and then getting into the foam without dripping and burning ourself. SO INSTEAD, we use what we use an electric skillet that we melt Glue Sticks in. You can turn it on, control the temp, dip the tip of the stem in it, wipe off the excess on the edge of the skillet, and then shove it in the arrangement. And that ONLY uses one hand. It's much faster! Plus, when your done, turn it off, the glue hardens, and when you're ready to use it again, just turn the temp up and use again! You can use it over and over! Here's the Electric Skillet and the Glue Chips we use.
Pro Tip: You want the glue warm enough so that it will be easy to dip and wip off, but not too hot so that it's runny like water. You also don't want it not warm enough so that it doesn't attach to something. Our go to temp window is usually around 350°-400°. Any hotter than that, and it might start smoking, and you really run the risk of burning yourself.

SPRAY FOAM INSULATION
You read that right! Spray foam like you use around the windows or doors! This wonderful can of Spray foam is able to be sprayed into odd shaped containers or large containers that would take bricks and bricks and bricks of spray foam. The important things to remember with the spray foam is that it grows, so use less, you can always add more after it cures. We suggest you do a test patch, and then see how big it gets when it's cured. You'll be surprised. ALSO, do NOT touch the wet foam with your bare hands, it will stick to you, and it will take forever to get off. This is also true for clothes and furniture, so do this in a place where you won't risk a disaster happening. If it grows too big, you can cut or carve it down once it's completely cured. Then just covered with moss and create your floral arrangement! Here's the Spray Foam that we use.
Pro Tip- We will often use spray foam with bricks of floral foam. For large containers you can glue bricks in the center of the container at the bottom, and then spray the foam around the bricks. It will expand and hold the bricks in place! Depending on the thickness you spray, it can take up to 24-48 hours to cure before you can stick stems into it. It cures from the outside in. And don't rush it. If you stick a floral stem into the spray foam before it's cured all of the way through, you've now given a release point, and foam that is still trying to expand in the center will find the hole and you'll get interesting protrusions like rock formations coming out.
CHICKEN WIRE
For those looking for an alternative to foam, chicken wire presents a versatile and eco-friendly option. Chicken wire can be shaped and molded into various forms, providing a solid grid structure for you to arrange in. It's also really great to use if you aren't really sure of yourself and move your stems around a lot while making an arrangement. This will allow you limitless redos! If you're working with fresh flowers, chicken wire is also a great way to create foundation for your floral arrangement because it allows for better water flow, extending the lifespan of your fresh flowers compared to wet floral foam (completely than craft dry floral foam).
Pro Tip: Chicken wire can also be used to create a floral wall or wall sculpture without having to use foam! Just attach the chicken wire with nails, screws, etc and make your shape, and then tuck into the grid!

STRAPPING TAPE
OK, people. if you're on any social platform you've probably seen people sharing a tip using clear masking tape and a vase to make an arrangement. Y'all.....they had the right idea, but the wrong tools. Masking tape will not hold the weight and will just let go when wet. INSTEAD, we use clear Strapping Tape. It's thinner, completely clear, holds tight, and won't let water cause issues. Just make a grid structure on the top of the container, and you're good to go. Depending on the size of the stems and the size of the container, that will determine the size of your grid. If you want the arrangement loose and airy, create a wider grid. If you want it fuller, use a tighter grid! Here's the Clear Strapping Tape we use!
And there you have it! Our go to list of floral supplies that we use, LITERALLY everyday! You can help be prepared and ready for whatever that creativity bug gets you into next time! By investing in high-quality tools and exploring alternative materials, you can unleash those ideas and achieve beautiful results that you are proud of!